It’s nearly time for my tutti fruity party, so I thought I’d share another easy sewing DIY that I whipped up for the day: an easy fruity table runner for the food table! This was super easy to make and looks really great! I can’t wait to see how it looks on party day! Here’s how you can make your own!

What you’ll need:
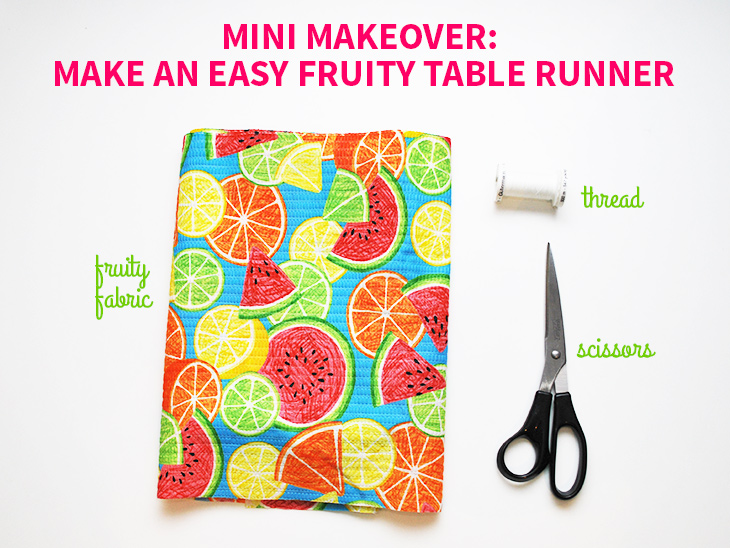
- Fruity Fabric – This is a cotton weave (not sure of the official fabric type) from Spotlight called Tutti Fruity. I bought 1 metre and had some left over
- Scissors – for cutting the fabric
- Thread – for sewing, white is my preference for multi coloured fabrics like this one
- Sewing Machine – for quick sewing
- Sewing Pins – for pinning the pieces together
- Optional: Iron – for pressing a seam

How to:
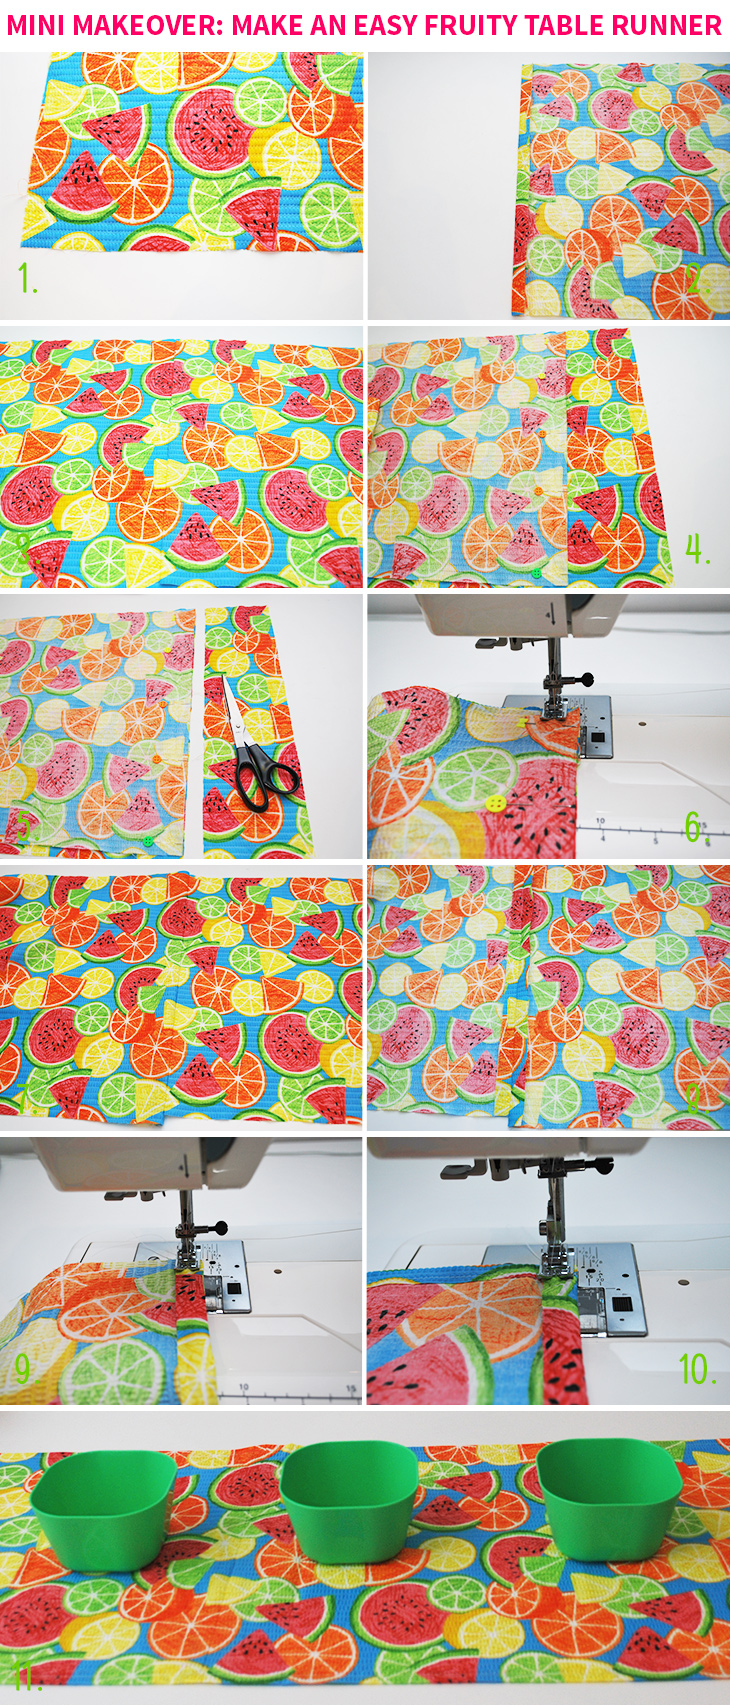
- Lay out your fabric and look at your top edge for where the pattern begins. Then find where the pattern repeat on the fabric begins. On this fabric it was about 40cm from the top edge. Cut along where the pattern repeat begins again. note: if you have a short repeat, you might want to have two or 3 repeats before cutting. Repeat this once the first piece is cut at the second repeat so you have two long pieces
- Leaving one piece to the side, take the other piece and press a seam that’s about 2cm wide into one short end. This will help you line up your repeat for making the table runner longer
- Now lay the non pressed piece on a table and place the pressed piece (with the 2cm fold facing the table) and line up where the pattern will sew together without you noticing the seam
- Once lined up, carefully pin the 2cm pressed seam to the lower piece of fabric so the pieces are facing each other
- Then cut off any excess from the lower piece so that it’s easy to sew
- Now sew along that 2cm fold where you lined up the fabric before so that it will look as seamless as possible on your table
- Then remove any remaining sewing pins and fold out to see how your pieces join together. Mine aren’t perfectly aligned, but I’m happy with how close I got. If you want this seam in the centre you will need to fold it back in half and trim off the over hanging side. I didn’t do this so my seam is about 5 cm off centre, but it blends so well I don’t even notice
- Flip your table runner over so the pattern is face down and press open the seam. Also, if you have any over hang long ways that you can see where your fabric lines up, trim this now
- Now it’s time to neaten you edges. with the pattern side down and fold a seam long ways on the right hand side and stitch. I followed the weave on mine to get the straight line. Repeat for the other long side
- Now fold one of the shorter ends over, and stitch as to neaten the short end. Repeat for the other end
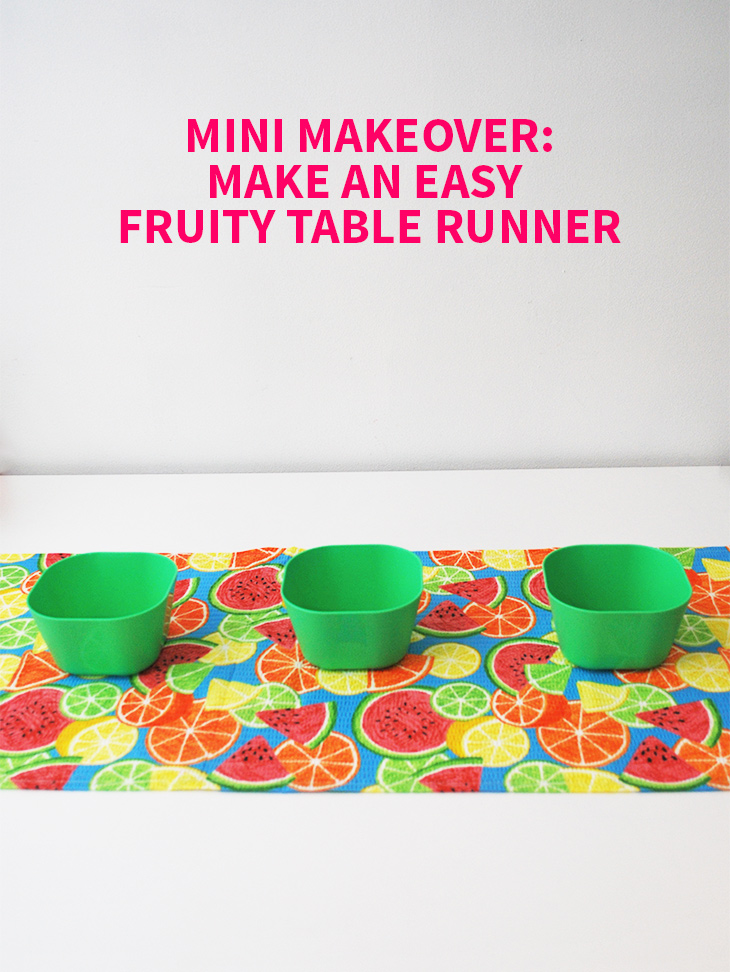
- Iron if desired and your table runner is ready to go! My final table runner size was 37cm x 189cm

Thoughts on the project:
This was a quick and easy project to make. I loved the challenge of lining up the fruit as close as possible, but I also love that the pattern is quite forgiving so you really have to look to see any imperfections. Because the repeat is so wide I didn’t really do any measuring and the fabric has natural straight lines woven in which made it super easy to cut correctly. It’s easy to fold and I think it will look great on the food table at the party! Especially with these cute punnet bowls I got at Ikea!
What pattern would you choose for a table runner?
If you do try this, I’d love to see a photo or hear about how it went! Tweet me your pics at: @danniellecresp or instagram me at: @dannielle with the hashtag: #styleforahappyhome
So funny, I just made one today for the Thanksgiving table! I cheated with witch-stitch because I don’t have a seeing machine, but I did a gray plaid that turned out really cute.
That’s so great, Sarah! I hope you had a lovely Thanksgiving!