My tutti fruity party is this month and while my home is starting to be overwhelmed with fruity decorations, I thought I’d share 2 fun DIYs I’ve made that look great and were pretty easy to do and didn’t cost very much! Here they are!
Watermelon Ice Bucket
I wanted an ice bucket for drinks for the party and I also wanted to keep it simple so that it could be reused afterwards.

What you’ll need:
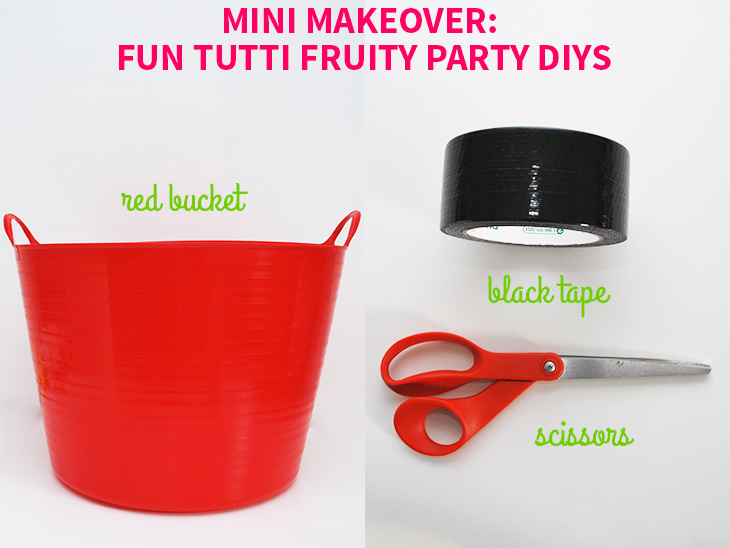
- Red Plastic Bucket – This is a 42L bucket I got from KMart for $5
- Black Tape – This is Black Duck Tape brand tape that I bought from Officeworks for $6 – I wanted a tape that could get wet without falling off
- Scissors – for cutting up the tape
- Optional: Cutting machine like a Scan N Cut if you don’t want to use scissors
How to:
- Wipe down the outside of the bucket if it has dust or dirt so that the tape will stick properly and place on a table
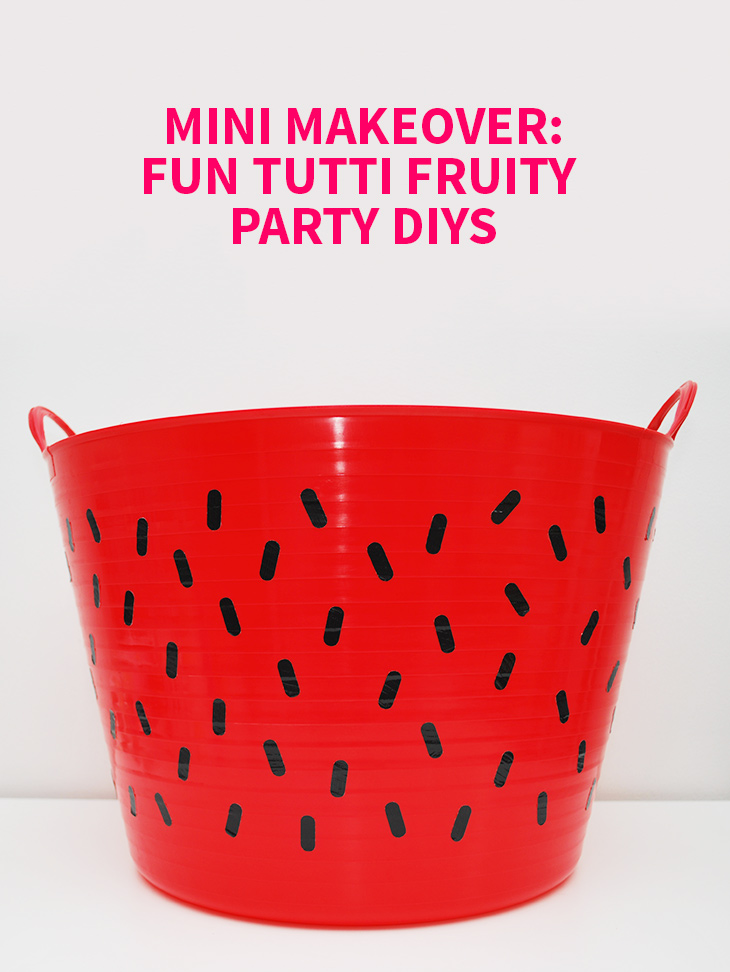
- Cut out your black watermelon “pips” with either your scissors or a cutting machine if you have one. I used an old Scan N Cut mat that had lost it’s stickiness and taped the tape to the mat and cut rounded rectangles out of the tape at 25mm x 10mm
- Stick your “pips” to the bucket on different angles leaving space between each like you would see on a watermelon
- I also left the last 3 finger-widths at the base without any “pips”. You could add green tape here to get the outside of the watermelon, if you wanted
- Once you’ve finished adding the pips all the way around your watermelon ice bucket just needs ice and drinks on party day!

Thoughts on the project:
This was really fun to make and didn’t really take too long. I’m thinking of getting the tape in green to add the contrast for the watermelon at the base, but I’m really happy with how it turned out. I wanted a waterproof tape so that the “pips” wouldn’t fall off when I filled the bucket with ice and the duck tape works great.
The bucket will also be used around the house after the party and I love how it looks a little less dull now! All up it cost just $11 and took less than an hour to do. Love it!
Pineapple Food Labels
I knew that I wanted some fruity labels for marking food and drinks on the food table, but wanted to keep it simple and not have to make them from scratch. This was an easy solution!

What you’ll need:
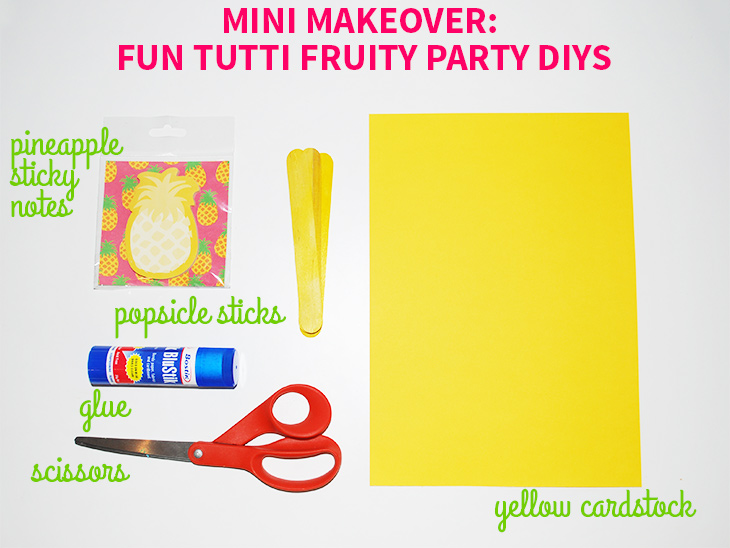
- Pineapple Sticky Notes – I found these at Officeworks, they were 100 sticky notes for $3.98
- Popsicle Sticks – I found these at the supermarket in a mixed colour pack for $3
- Yellow Cardstock – I already had this at home, it’s 210gsm paper
- Glue – for sticking down the sticky notes to the backing
- Scissors – for cutting out the shapes
- Optional: Cutting machine like a Scan N Cut if you don’t want to use scissors
- Optional: Sticky Tape for fixing the popsicle sticks
How to:
- Stick your sticky notes to your yellow cardstock (just using the sticky note glue) and either trace around them or run them through the scan n cut (Note: I scanned mine into the computer and traced around them in photoshop before sending to the scan n cut – you could do this and print the shapes on the yellow cardstock for cutting too)
- Then choose your method of cutting out the shapes – either with scissors or the cutting machine
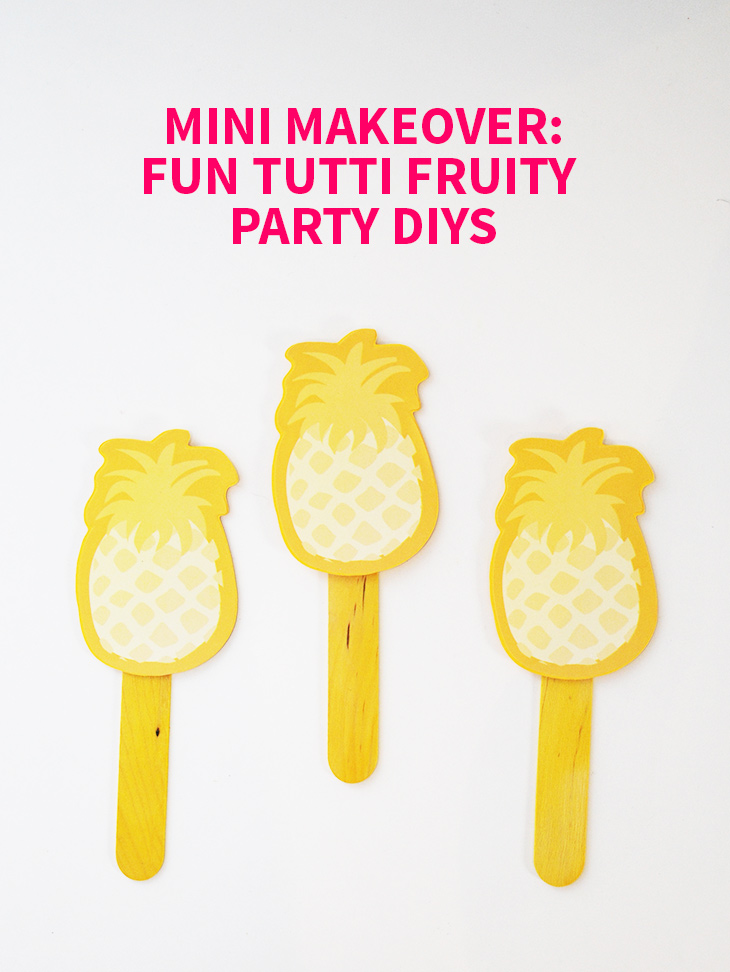
- Once all the backing is cut out for the number you need, stick the sticky notes down on the cut out yellow cardstock so they line up nicely
- Then add glue to the top part where there is no sticky note sticky and repeat also for the lower part until all are firmly fixed to the yellow cardstock
- Once dry, add the popsicle sticks to the back with either glue or sticky tape at the height you need them
- On the day you can write the food types on the labels and place on your food table!

Thoughts on the project:
These were easy and fun to make and look great! I could have designed some from scratch, but these worked out better than what I was thinking of. I was originally looking for the plain popsicle sticks, but these yellow ones look great! I’ll write the names of the food on them either the day of the party or the day before, so I don’t waste any with menu changes. I’ll just use an ultra fine black sharpie, most likely!
Can’t wait to see how they look on the day!
Are you looking for some fruity DIYs to make?
If you do try this, I’d love to see a photo or hear about how it went! Tweet me your pics at: @danniellecresp or instagram me at: @dannielle with the hashtag: #styleforahappyhome