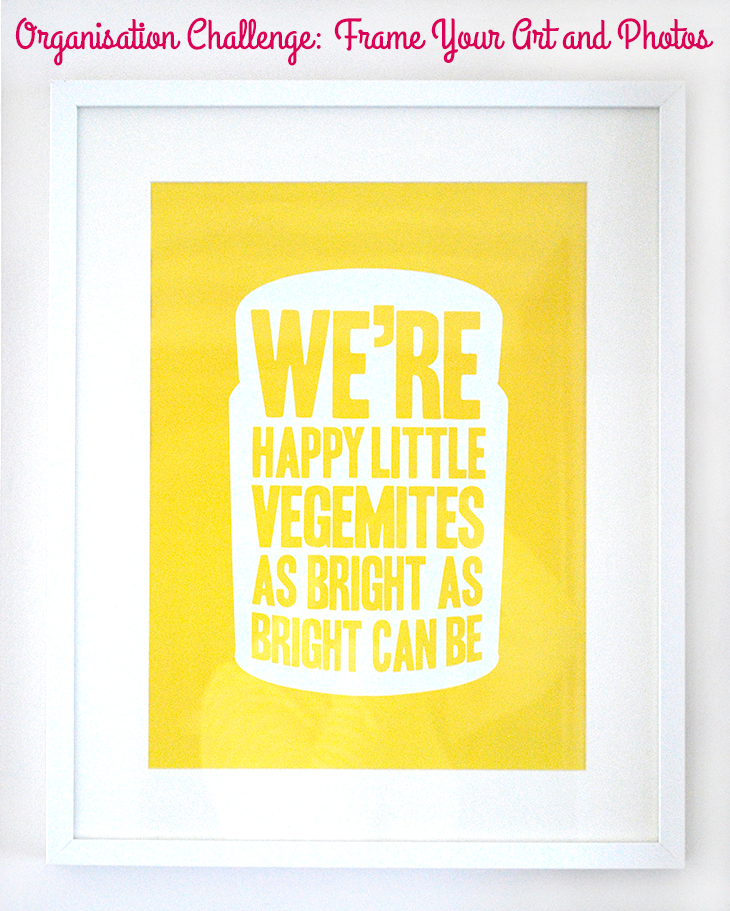
I’m back with another organisation challenge for you! This week it’s all about getting that Art your bought for your walls and your favourite photos, out of storage and actually getting them up on the walls (or mantle) for all the world (or at least you and your guests) to see! This is something that I have to make a conscious effort to do, so I thought it might be the same for some of you too!

First on your list is, to get a notepad and pen and a tape measure and measure up all of your artwork that needs framing and write down what size they are. Next you need to decide what size you will have your photos (that are currently just digital files) printed in. I recommend getting them done professionally, at somewhere like Officeworks, rather than using all your own printer ink if you’ve got more than one you want printed. They don’t cost much depending on the size you choose. Jot them down too.
The next step is to choose where you will buy your frames and whether you want matching ones or want to go for a mismatched look. I chose the Ribba frames from Ikea, and have them in white in all different sizes. Whilst you’re deciding on what frame style(s) you like, also check that your art and photos will fit in them nicely. Measure twice, buy once. This will save you some hair pulling later on. Also decide early on if you want your frames with a mat board in them or not. I have one in all of mine, so I often have to size up my frame to allow for the print to still be seen. These can be great if you have odd sized prints as the board can often hide that.
Whilst you’re still doing the research on the frames, also look at your budget for them and add that up before you head out to buy. There’s nothing worse than thinking “that’s a really reasonable price” and then getting to the counter and realising that with the quantity you just bought your wallet feels a bit too light! I have a really bad habit of doing this when it comes to frames. “$15 seems really reasonable, oh $15 x 4 is $60, where did all my money go?”
If you can’t afford to buy them all at once, which is totally ok, then it’s worth thinking about going with frames that are not likely to be one season only, if you want matching ones. This might seem like way to much thinking and not enough doing, but I find that planning things can really help the execution.
Once you’re ready, go out and get the frames and make an afternoon of taking the time to frame them. Clear off a table and work out which piece will go into which frame. Take a cloth and wipe down the glass on the inside and outside of each frame before adding the print (and mat board if you’re using one). Pop them to one side when they’re all lovely and framed, and continue until you have all your new frames filled.
You might need a break now, if you have done a mammoth framing session, but try not to get tempted to stop there. Now it’s time to work out where they will go on your walls and actually hang them up for everyone to see! I wrote a tutorial on how to hang your frames here if you need some help with that.
Once they’re up on the wall you can pat yourself on the back for a job well done and you can admire all the lovely artwork and photos whenever you walk into that room!
Is this on your to do list? What do you need to frame?
Great ideas Dannielle! I have so much picture framing & hanging to do with the new house. It’s a long to-do list but these are great tips!
Thanks so much Sarah! I’ve been loving your new home updates! x