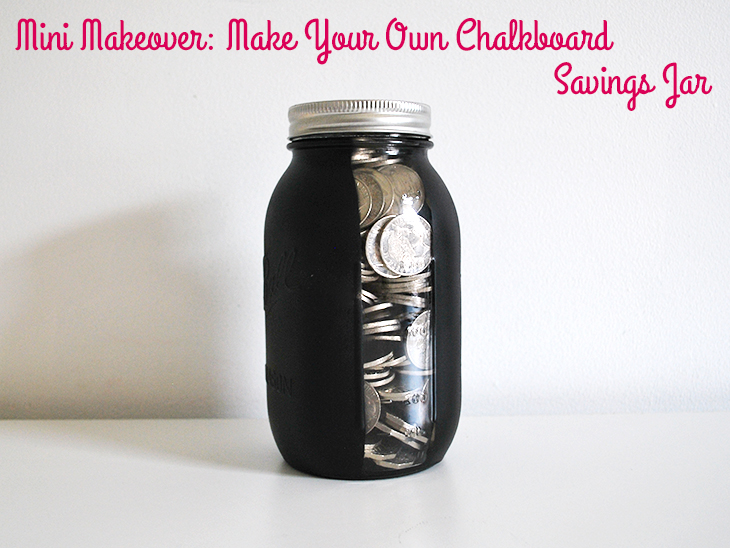
Loose change becomes a bit of an issue around here, as the silver coins just seem to pile up in little stacks on the bench tops and tables and it never really has a place to go. If this is the case for you too, this chalkboard savings jar is a fun way to save it up for something fun for a special occasion (or when the jar gets full). It could be a fun way for your family to work towards a particular treat or just a good way to keep all that change in one place! You could even have one for each family member and race each other to the top!

What you’ll need:
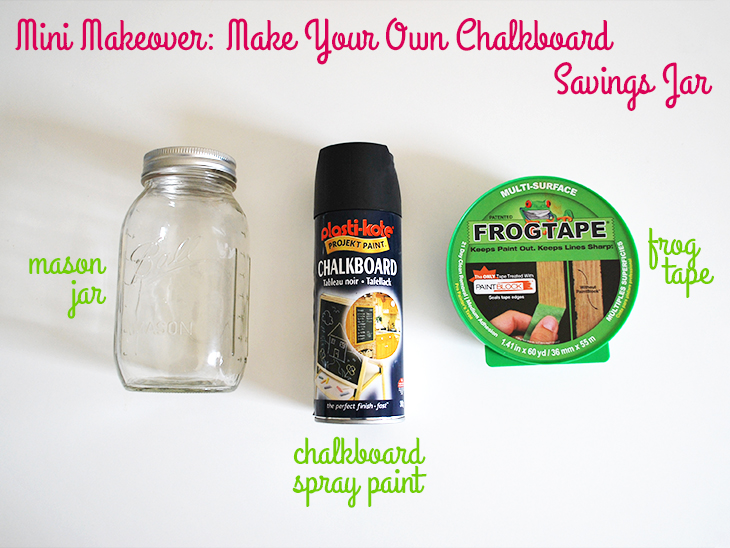
- A Mason Jar (this is Quart Size) or jar of your choice
- Chalkboard Spray Paint I used a spray can but brush painting would also work
- Frogtape for a show line
- Drop sheet for any overspray or paint drips
- Optional: Masking Tape if you don’t want to use Frogtape around the top (as it’s more expensive)
- Optional: Newspaper for stuffing the jar

How to:
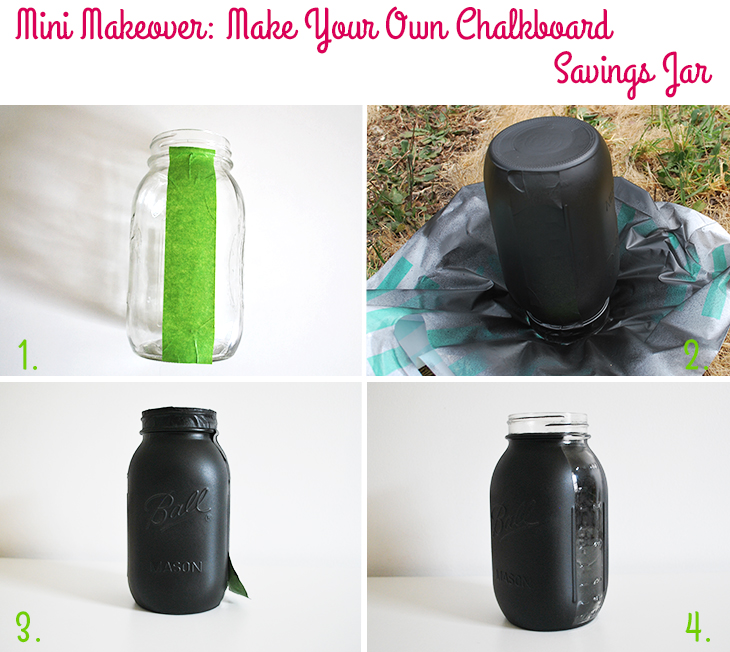
- Take the lid off your Mason Jar and leave it to the side and take the Frogtape and cut a piece that will cover from the base of where the lid sits to the bottom of the jar. Stick it firmly to the jar. If you have a marked jar you could stick the tape over the measurement markings for fun, as I have done using the mL side. Also: Take some more Frogtape, or masking tape and stick it over the screw top where the lid sits. This will stop your lid from sticking later.
Optional Step: stuff the inside of the jar with newspaper so no excess spray paint gets in by accident. More important if you are spray painting than brush painting - If you’re using spray paint, shake the can according to the instructions on the side of the can. If you’re brush painting, prepare your paint and skip to brush painting instructions
For Spray paint: Go into an open space that is safe to spray (whilst wearing clothes and gloves that it doesn’t matter if they get spray on), put down a drop sheet and then the jar upside down (on the lid end – the lid should still be off) and begin spraying. Spray slowly and a little further out than you think you need to at first and slowly move in with even spray. Continue spraying until the jar is covered. It may need two coats.
Leave to dry for the amount of time suggested on the can. Mine was touch dry in 15 minutes.
Once dry, pick up the jar and check that all of it is covered. If there are gaps near the lid area, put the jar down with the base on the ground and re-spray the gaps at the top
Leave to dry for the full amount of time suggested on the can, not just the touch dry time if possible.
For Brush Painting: Lay out your drop sheet, take your brush and paint all of the jar including the base until it’s completely covered.
Leave to dry completely. - Once completely dry, remove the newspaper and then carefully peel off the Frogtape and masking tape
- Now you can start adding your coins and put the lid back on
- Optional: If you like you could use chalk or a chalk pen to write your jar with what your goal will be (or who’s jar it is). This would be a great way to remind everyone why you’re filling the jar!

Thoughts on the project:
This is a fun way to get everyone involved in saving their spare change and can help keep your benches and tables a little bit neater. This is a pretty easy DIY to try as there aren’t too many steps and most of the time is in waiting for it to dry. If you happen to get some good sunshine it can dry quite quickly. I do recommend always spraying outdoors as this paint can get quite stinky, especially to sensitive noses.
This could be used to help keep everyone on track for a family holiday or a special purchase and is a great way to put that spare change to good use. If they start to get a bit heavy, most banks will give their customers those bags for banking change and you can take it in and bank it or exchange it for notes. Place any receipts or notes back in the jar though, so you know what’s already been saved! It’s amazing how quickly all that change that weighs down your wallet can turn into a substantial purchase!
Do you have savings jars in your home? Would you like to try this?
If you do try this, I’d love to see a photo or hear about how it went! Tweet me your pics at: @danniellecresp or instagram me at: @dannielle with the hashtag: #styleforahappyhome
hi there
love your santa jars as well as these chalkboard ones. i wanted to know if you can write on these jars like you would a chalkboard. perhaps with a white marker, chalk etc.
i love the chalkboard stuff everyones makes. i think its so cool and looks great. with or without writing on it.
kari
Hi Kari,
Yes, you can write on these like you would a chalkboard, but because of the bumps on the jars I would recommend a chalk paint pen rather than traditional chalk.
:) Dannielle