* Sponsored Post for Spotlight for National Craft Month
Last week I was invited to the launch of National Craft Month for Spotlight and because I love all things craft and spend a lot of time in Spotlight stores, I jumped at the chance to see what it was all about. The event was awesome, but one product in particular caught my eye: the Heidi Swapp Marquee Love letter kit.
I’ve wanted to try my hand at making a marquee forever, but the idea of messing with light bulbs and using saws has always stopped me.The cool thing about the Heidi Swapp one is that you can decorate it any way you like and all the wiring is done for you. So today I thought I’d show you how to personalise one with gold glitter without making a mess!

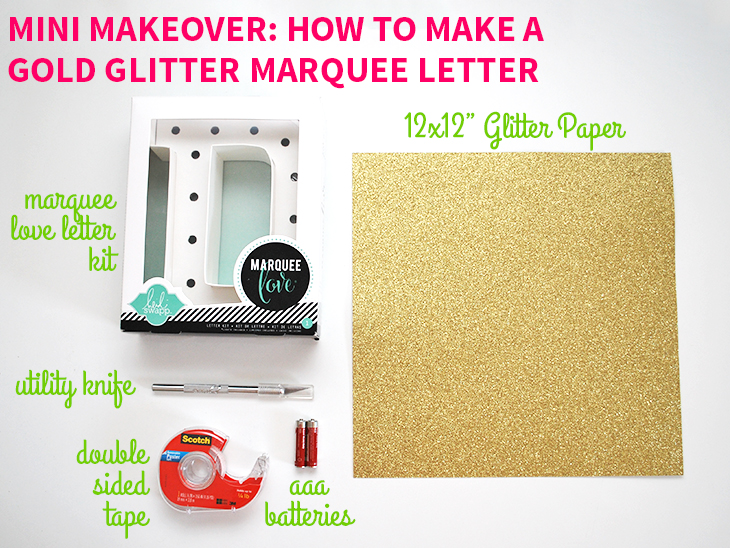
What you’ll need:
- Heidi Swapp Marquee Love Letter Kit I just happened to get a D from Spotlight which is a bit perfect! They have letters and an ampersand available
- 12×12″ Glitter Paper I went to my Local Spotlight and got a 12 pack of the American Crafts Glitter Paper (in assorted colours) for this you only need one sheet of Gold
- Utility Knife for cutting your paper
- Double Sided Tape for sticking the glitter paper down
- AAA Batteries x2 for lighting up the Marquee when you’re finished
- (Optional) Cutting Mat for cutting the glitter paper on
- (Optional) Pencil for marking the back of the glitter paper
- (Optional) Glue in case you wanted to use that instead of the double sided tape

How to:
- Unpack the Marquee Love Letter Kit and check that you have everything. The back of the box lists all the contents.
- Take the template and place it on the wrong side of the glitter paper with the template also wrong side up. Place over a cutting mat and cut out the shape. If you’d like to you could also trace the template and cut from the pencil markings. I used my paper cutting machine to do this, but it would have been easier due to the paper thickness to have hand cut it
- Now it’s all cut out it’s time to test that it fits in the shape
- Place your glitter letter face up on your marquee and see if it fits. Mine didn’t fit perfectly and needed some edges trimmed. Once trimmed correctly, add it to the marquee.
- (Note: I got ahead of myself here, and you should really do steps 7-19 before this step) Next, I took the bulb caps and added them to the marquee, which secured the glitter paper inside
- Once they were all in place I was going to finish it there (and go to step 20) but then decided to add some more bling to the outside
- Cut a 12″ long strip that’s the width of the marquee by lining your ruler up over the piece you’re going to keep (this protects it if your blade goes off course If you’re doing a different letter, this will vary depending on shape
- Once you have cut it out, cut a second one the same width and length
- Next turn the sheet of glitter paper around and cut a shorter length piece that is also the same width
- Now take the double sided tape (or glue) and add it to the back of the first long piece
- If using double sided tape remove all the protective backing leaving the second side exposed and ready to stick
- Starting at the top of the letter, in this case a D, shape your glitter paper around the edge and smooth over to ensure that it is sticking well
- Next take another piece, if yours is the D also, take the shorter piece and measure it to the end of the D and mark with a pencil where you need to cut off the excess
- Cut off the excess and leave to one side
- Then add the double sided tape (or glue) as in steps 10-11 and fasten to the rest of the outer part of the D.
- Next it’s time to cut the vertical pieces to size. This letter needed one longer piece, to very small pieces and two in between size. Measure and cut to size
- First add the inner long piece after adding the double sided tape or glue (as in steps 10-11) and make sure you’re happy with the placement
- Next it’s time for the very small pieces. Tape or glue them down firmly
- Finally add the two outer edges and tape or glue them down as above the outside of your D is now just as sparkly and fun as the inside with very little mess!
- Now lay the marquee face down and add the LED lights following the pattern that’s shown on the instruction sheet starting at the battery pack. Add the batteries to the battery pack at this step
- Now all the lights are threaded you can stand your marquee up and tuck the battery pack in to the back where it will sit nicely
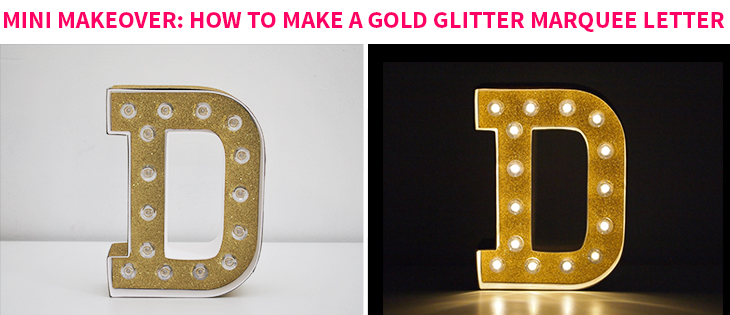
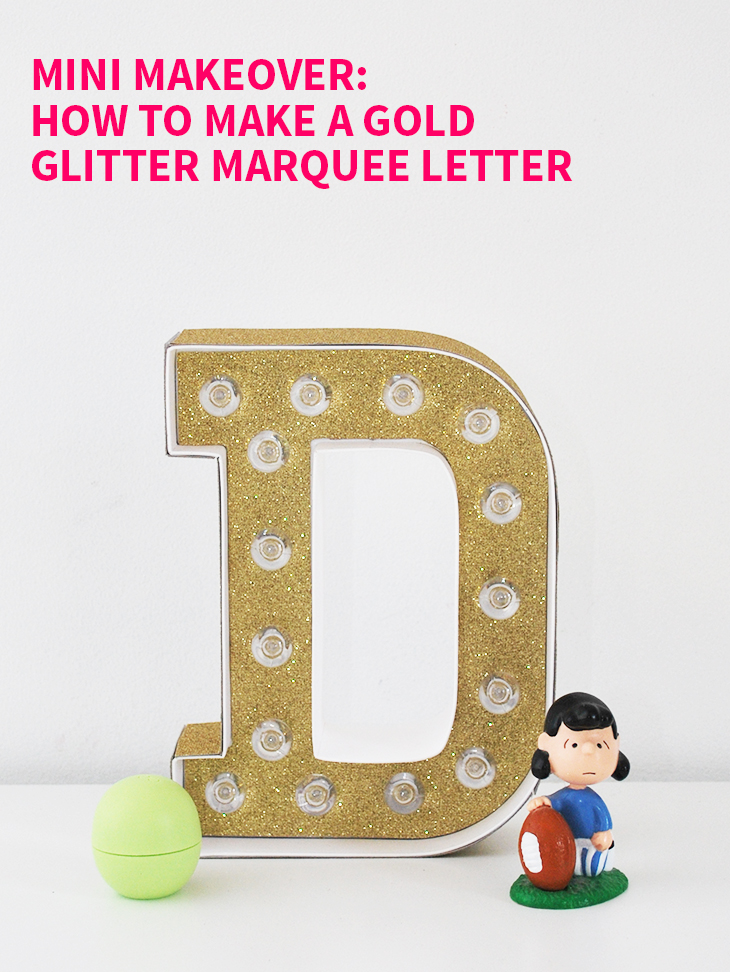
- Ta-da! Now your sparkly gold glitter letter is ready for wherever you’d like to display it!

Don’t forget to turn it on and test it! The glitter looks great in the daylight but also super fun at night!

Thoughts on the project:
I love these kits for making it so easy to have a marquee letter without needed to play with electrical wires or timber. I think I got a little bit overly ambitious with mine and there were lots of steps, but the beauty of it is that you could keep it really simple and just decorate with paper on the inside and out or even use washi tape! I loved that by using the glitter paper there was very little mess except a few flecks on my finger tips. It’s a great way to do glitter without the usual stress that comes with it.
They are a great feature for a bedroom and would also be awesome for parties or events. I think they would even make a good rainy day school holiday activity for school aged kids and a fun birthday gift too! At a pinch they would even be really handy to have during a black out.
If I was doing it again, I would change the order of my steps so that I did 7-19 before 5 and 6, but it worked out well anyway. I’d also use glue instead of removable tape as some parts of the edging hasn’t stuck as well as I would have liked.
I love my marquee D and am now thinking of what letters I should get next!
What would you spell out with your Marquee letters or which letter is on your wish list?
If you do try this, I’d love to see a photo or hear about how it went! Tweet me your pics at: @danniellecresp or instagram me at: @dannielle with the hashtag: #styleforahappyhome
Disclaimer: Spotlight invited me to the launch of National Craft Month and I received the Marquee Love letter kit as part of attending. I was reimbursed for my time in creating this post. All opinions are my own and I paid for the paper and tools used with my own funds. Working with the right brands helps to keep this blog running and as always, I only share what I think will also be great for you. xD