Recently I’ve come to love using spray paint for giving things I have a new look. I always feel like painting with a brush takes more preparation time that I’m willing to commit, so spray paint has become my friend. Today I wanted to share 3 fun spray paint makeovers that I did recently and how you can do them too! It’s like 3 posts in 1!
Makeover 1:
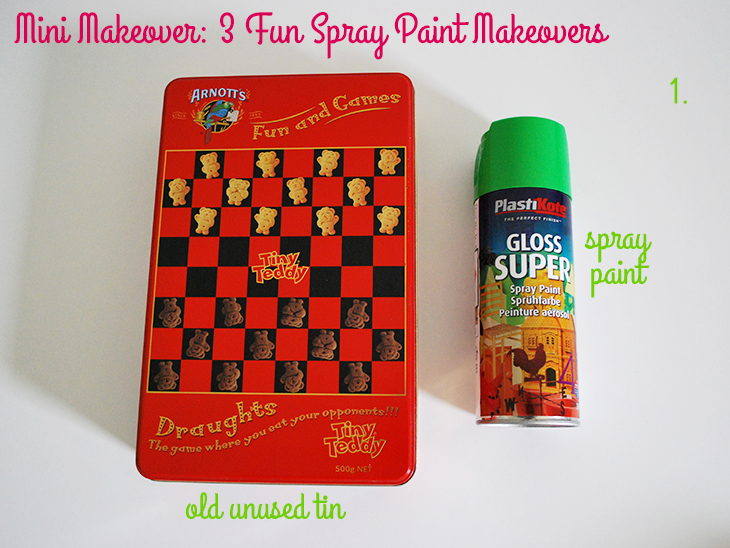
What you’ll need:
- An old used tin – This was sitting on top of our Fridge so I reclaimed it!
- Spray Paint in the colour of your choice – I chose Green because it’s my favourite colour
- Somewhere outdoors that’s safe to spray
- Drop Sheet
- Painters Suit or clothes you don’t mind getting covered in paint
I recently won a gift voucher for Masters Home Improvement (more about this in another post) and I decided to get some spray paints in colours that I liked so I could try some more DIY projects. I chose the green as it’s my favourite colour and decided to give this old tin a makeover in case I wanted it for Christmas baking.
I waited for a fine day, laid out a drop sheet in the back yard, put on a painters suit so my clothes wouldn’t get trashed and carefully started spraying the top. I recommend starting too far away and moving in so that you don’t end up with run marks. Once I’d covered the top I sprayed the sides. This would have been easier on a pedestal of some sort, than on the ground.
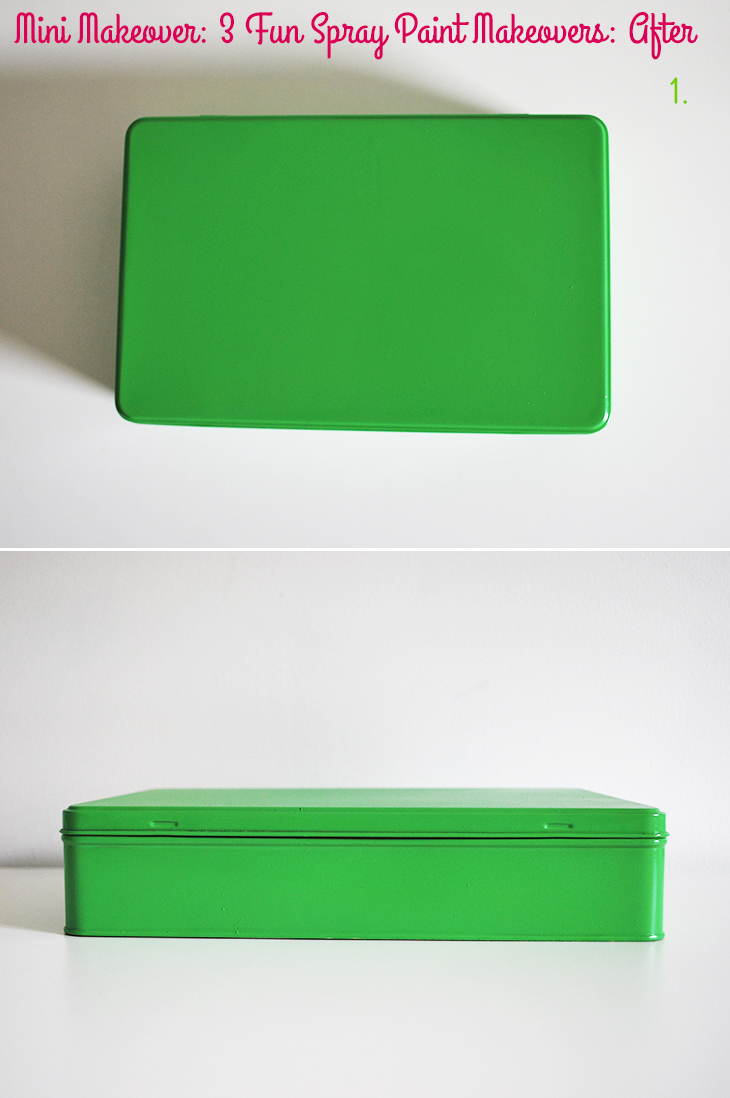
It initially sprayed on a pastel green (like many paints it went on lighter than it dried) but came out an awesome shade once dry. This particular spray paint took 30 minutes to be touch dry. Check the back of your can to see how long yours should take.
I left it a day and this time covered a wheelie bin with a drop sheet and gave it a second coat where you could still see the red on the side of the tin. There are some little imperfections from where I tried to remove the bugs that landed in it whilst it was drying (half my luck – haha).
I love how it turned out though, so I think I’ll keep it for my office. I love a pop of colour especially in MY green!
Makeover 2:
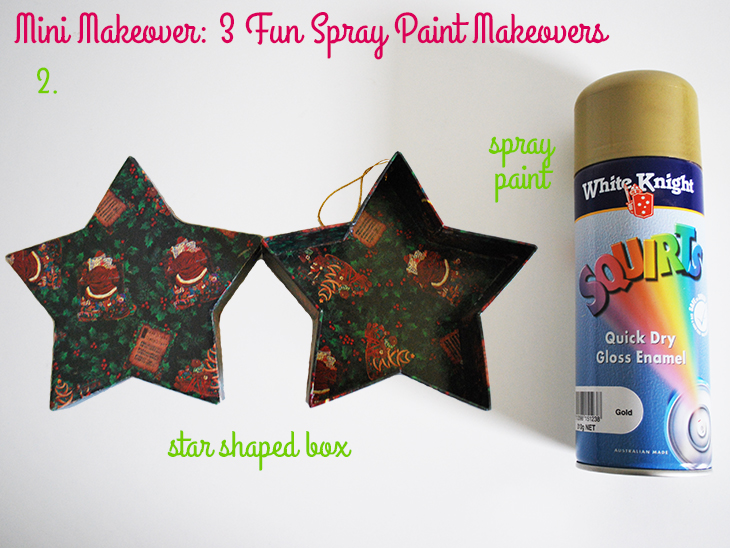
What you’ll need:
- A Star Shaped Box – This was in amongst my gift wrapping supplies and I think it was a Christmas gift from many, many years back
- Spray Paint in the colour of your choice – I chose Gold because it’s Christmasy but still classy
- Somewhere outdoors that’s safe to spray
- Drop Sheet
- Painters Suit or clothes you don’t mind getting covered in paint
I’ve had this star shaped box for the longest time, and I’ve always wanted to reuse it, but I wasn’t a big fan of the pattern, so I finally decided to do something about it and grabbed the gold spray paint that I bought for this project and decided to give it a makeover.
On a hot sunny day I took my drop sheet (which is an old queen bed sheet) out to my backyard and I made my own painters suit (before I went and bought a proper one) out of another old sheet that I cut a hole in for my head and made a belt all to cover my dress (crafty!).
I spread the lid and the base of the start box far enough apart that I could focus on spraying one at a time and then moved onto the other. I decided to start spraying from far away in short bursts so that no paint could pool in the inside parts. This paint is a 10 minute touch dry, and because the weather was so warm it dried really quickly. Once one side was completely covered and dry I flipped it over and sprayed the other side. Again in short bursts and not too close. It took a few goes to cover the inside corners completely.
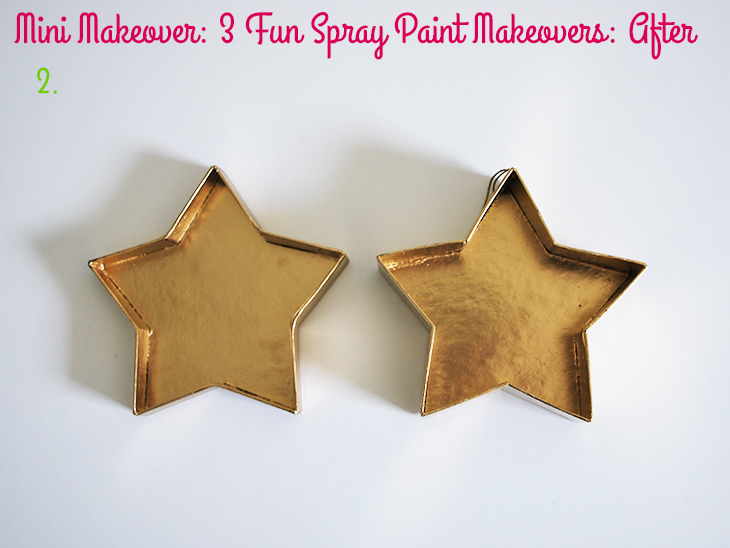
It didn’t take too long to cover it all and with the warm weather it didn’t take too long to dry in the sunshine and it came out the most vibrant, sparkly gold that’s just perfect for a centre piece at our Christmas Lunch table.
This was a quick and easy one to do and would probably be even easier with one of those paper mache boxes you can get at a craft supplies store like Spotlight. Can’t wait to see how it looks at Christmas time!
Makeover 3:
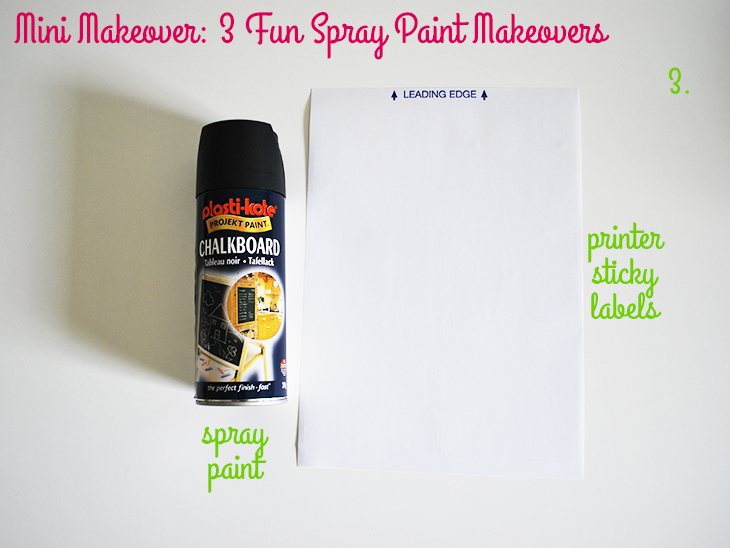
What you’ll need:
- Printer Labels – These are from back when Officeworks had an inhouse brand of labels but you can sticky labels from the supermarket, soffice supply stores or even some department stores like KMart
- Chalkboard Spray Paint – This is a specialty spray paint so it might be a little more expensive than the regular spray paints
- Somewhere outdoors that’s safe to spray
- Drop Sheet
- Painters Suit or clothes you don’t mind getting covered in paint
- Disposable gloves
- Painters Tape or Masking Tape
I’d seen this idea on a few different Pinterest pins, but after talking it over with my Dad I wasn’t totally convinced that the labels wouldn’t distort in the same way they do when you cover them in liquids like water, but I had bought some chalkboard spray paint with my gift card and have hundreds of labels so I was willing to give it a go.
I chose the label size that I liked, covered my wheelie bin in a drop sheet in the backyard, put on my painters suit and taped down the corners to the drop sheet. I used washi tape but I recommend something stronger like masking tape or painters tape as mine flew off in the wind! I didn’t remember the disposable gloves, but I highly recommend them as the chalkboard paint made a real mess of my hands.
The chalkboard paint is a lot thicker than other spray paints so I started quite far away and did long left to right sprays across the sheet. At first it looked like it wasn’t going to work and was all blotchy, but as I sprayed a bit more each time it covered the sheet more and more until it was all black. This spray paint said it needed 15 minutes to dry, and it was definitely dry by then.
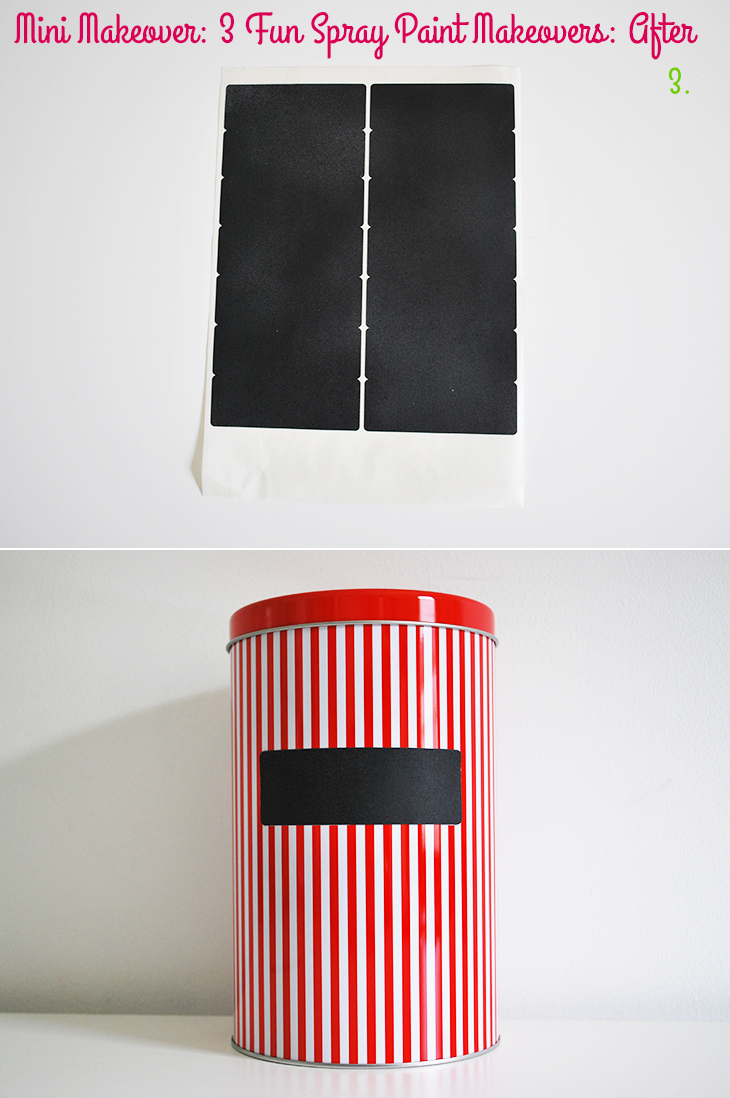
Getting an even spray can be a bit difficult but I love how mine turned out. They will be so fun for decorating tins and glass jars and even make good name tags for drinking glasses for parties. If you love lettering with chalk, I think you would love this. They would even be good on tins that are for gifts as the person can reuse the tin later for something else and label it easily.
I found that it didn’t wrinkle at all but I’d definitely use a stronger tape to attach it to the drop sheet next time. The labels have that chalkboard feel to them and look as good as if you’d got them in a shop. I think I’ll look out for oval labels next time for something a bit different.
Other thoughts:
If you’re looking to do these, see if you have the option of chrome free spray paints, the gold one is but the others are not, and I definitely felt a bit ill after being around the traditional spray paint. It might also be worth looking into getting a face mask for the things like the bigger tin as you’re spraying for a while and you don’t want to accidentally breathe it in.
I love how great these all turned out and I can’t wait to try some other spray paint makeovers!
Have you tried any of these? Which one would you like to try? I’d love to know, share with me in the comments!
If you do try this, I’d love to see a photo or hear about how it went! Tweet me your pics at: @danniellecresp or instagram me at: @dannielle with the hashtag: #styleaminimakeover
Such a great idea Dannielle! And I’m absolutely loving that green tin! I shall have to stock up on some of that paint!
Thanks so much, Kellie! It’s such a great lime colour – perfect for you! :)
I love the chalkboard labels
Thanks, Melissa! They’re so fun!
What fantastic ideas! Thanks for sharing.
You’re so welcome, Jane! I’m so glad you like them!
I LOVE the first one! I have some tins and paper mache boxes sitting in my office. You can pick them up at the thrift stores for less than fifty cents. I plan to use the spray paint method and then using stencils adding a holiday image to each. They’ll be used for homemade treats for my clients for Christmas.
Great post!
Thanks, Jennifer! I love the stencil idea! So Clever! You should instagram them when you’ve made them. I’d love to see!
Will do!
Oooh how I LOVE spray paint! my fave all time project was spray painting garden gnomes- I am hopeless at painting but spray paint means I can be an artist hehe. I sis some ultra modern gnomes for my garden and had a blast. I love that green tin tho- so many awesome opportunities for gifts to be ‘wrapped up’ or rather placed in :)
My hubby taught me a good spray paint technique- start spraying off the projecct and while holding down then drag spray over time- even coverage and none of those drippy drips or splodges- super handy :)
Those garden gnomes sound amazing, Felicity! I do prefer spray paint to painting with a brush too!
Great tip from your hubby too! It can be tricky to get the hang of at first but oh-so-fun once you do get it! :)