Wrapping gifts is something I love to do. I can go a bit overboard sometimes, but I have learnt the lesson that simple and quick is often best, especially when you have heaps of things to wrap! I know that wrapping can also be really intimidating for some, so today I wanted to share 3 quick and easy wrapping ideas that will make your gifts look great without a whole bunch of effort.
Wrapping Idea 1: Polka Dot Gift Box
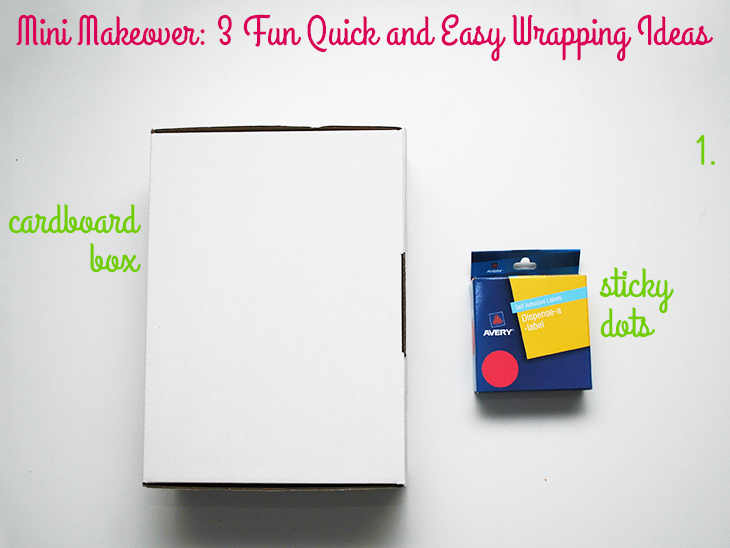
What you’ll need:
- A Cardboard Box – I used a mailing box that I bought in bulk, (they worked out to be 64c each for the box of 60), but you can get mailing boxes either from an office supplies store or check inside your electronics goods packaging as they often have plain boxes on the inside that are in great condition.
- Sticky Dots – I got these from Officeworks for $6.99 for a 500 pack in pink. They are 24mm dots. (Do check the backs of the packets for how many are included as the green ones I also bought for $6.99 only had 350 and look identical on the front of the packaging)
How to:
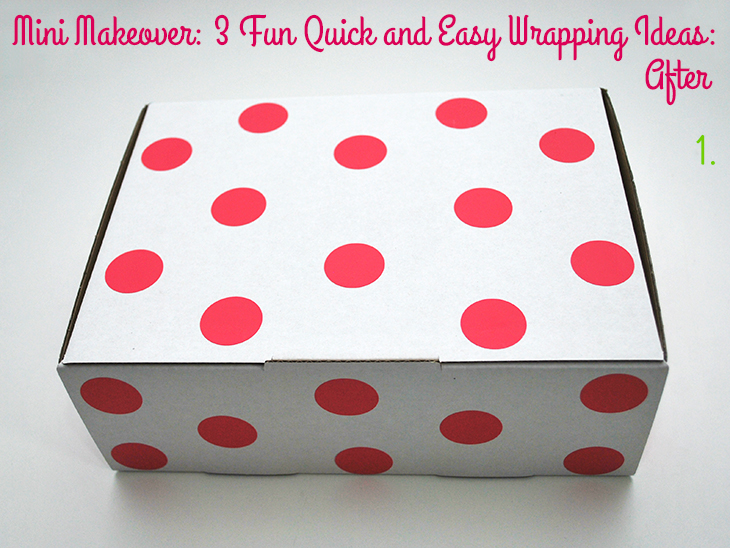
Decide on a pattern for your spotty box and have a think about how many dots you have to use. I had 6 boxes to do in pink and 6 in the green so I wanted to spread my dots out. Start at the left corner of the front panel of the box and move to the right. As this is a smaller space it helps you get your confidence with the placement of the dots. I’m a bit picky and I wanted mine to all match, but you can place them wherever you like on the box.
Follow around all the sides and then continue with the top of the box. I decided to also do the base of the boxes for consistency, but you don’t have to if you don’t want to as it’s unlikely to be seen. Once your box is covered in dots, then you can add your gift to the inside, close it up, add a card to the top if need be and you’re ready to go! These are great for posting. Check back next week to see how they can be used!!
Wrapping Idea 2: Sweet Gift Bag
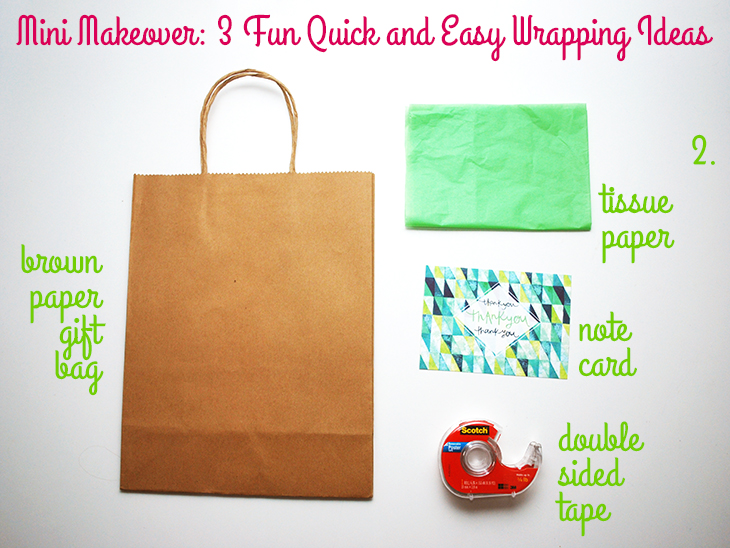
What you’ll need:
- Brown Paper Gift Bag – I bought these from Spotlight in a pack of 5 a year or so ago. I can’t remember the price, but you should be able to get them for $2-$4 depending on where you go and the size you choose. This is a medium.
- Tissue Paper – I got 5 sheets for $1 at my local overstocked/ discount store. I used a quarter of a sheet.
- Note Card – I got these from Fat Mum Slim’s Scatter Love project which is finished now, but any cute note card would work well.
- Double Sided Tape – This is Scotch double sided removable poster tape that I got from Officeworks for around $11 – removable tape is better for this if you want to write on the back of the card.
How to:
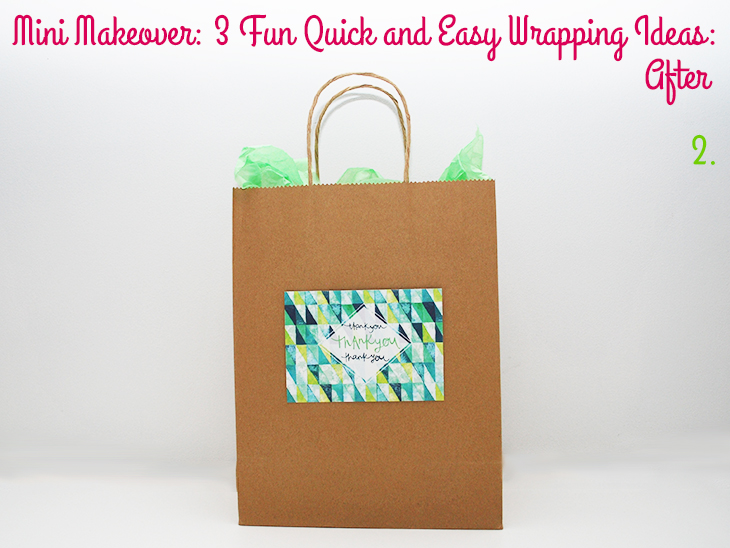
Start by laying the card wrong side up. Add a note if you want to and then add some double sided tape, I just use a piece the size of the tip of my little finger on each side, towards the centre, so that you have one piece of sticky tape on either side. You could have a piece of tape inside each corner if you prefer. If you’re using the tape shown above also remove the backing to reveal the second sticky side. Then lay the bag flat face up.
Line up where you want your card to go and then flip the card over so the sticky side is facing the front of the bag and place it on the bag. Carefully run your hand over the edges to make sure that the tape is secure. Add your gift to the bag. Finally, take your piece of tissue paper and scrunch it into a ball. Then carefully pull it apart again, taking care not to rip it. Add the tissue paper to the top of the bag to conceal the gift. Now you’re ready to go!
Wrapping Idea 3: Gift Box with Ribbon
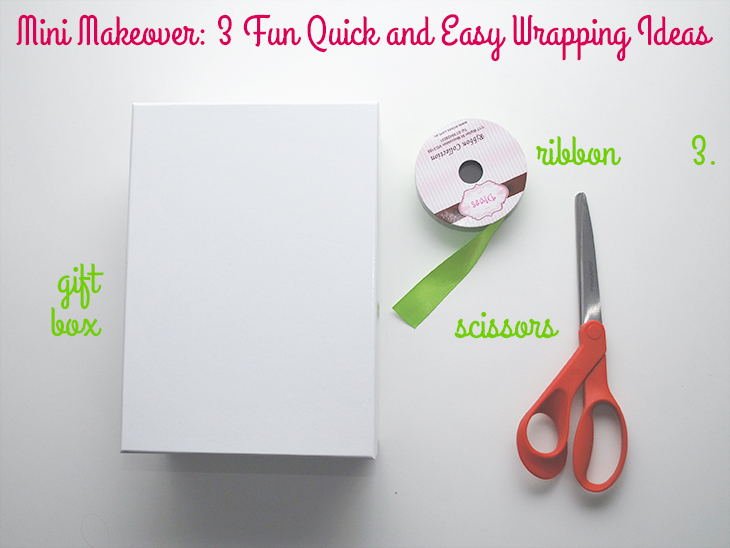
What you’ll need:
- A Gift Box – I got this at my local overstock/discount store for $1.80, but they come in all different sizes and colours and most for less than $4.
- Ribbon – I got this roll from the same place as above for $2. It’s 4 metres of 22mm green satin ribbon.
- Scissors – for cutting the ribbon Fiskars are my favourite, but you’ll have your own favourite pair
How to:
Add your gift to the gift box and pop the lid back on. Then take the ribbon (still attached to the roll) and wrap it around the length of the box (the longer side) approximately two and a half times and then cut the ribbon from your roll. Place the roll to the side.
Now place the ribbon over the lid of the box so that it’s in the centre and parallel to the shorter sides. Turn it and the box upside down (carefully so you don’t do the gift inside any damage), and pull the ribbon ends up towards the sky towards each other so that you can see they are an even length. Next lay them flat over the box and turn them 90°s making sure that you collect the other piece in the process. This should look like a cross.
Then carefully turn the box and ribbon back up the right way and bring the two ends back together at the top and tie a loose single knot, lining that knot up over the continuous piece of ribbon below. Then knot it once more to make it secure. Add a card to under the ribbon if required and your gift looks great and is ready to go! If you have extra ribbon you could make a bow, but the simple knot looks great too!

Thoughts on the projects:
These are all pretty quick and easy gift wrapping ideas that don’t take too much time and don’t cost a lot to achieve. There’s something extra special about not only giving a great gift but also giving the person the thrill of opening a fun looking gift (even if it didn’t take a whole lot of time for you to do it). I love that these look great without too much effort and could be done in less than 10 minutes! Great for those last minute gifts that you need to wrap right before heading out the door.
What’s your favourite quick and easy way to wrap a gift? Do you have a favourite?
If you do try this, I’d love to see a photo or hear about how it went! Tweet me your pics at: @danniellecresp or instagram me at: @dannielle with the hashtag: #styleforahappyhome