I thought I’d share a mini makeover idea each Thursday, that can be done in a day or over a weekend. They will be ideas on how you might make your home feel a bit happier cheap jerseys and a bit more liveable without breaking the bank.
This week’s project is to make a gallery in your home. If you’re like me, you probably have hundreds of photos you took and love but have never got around to printing them and hanging them. Or you have a heap of your kiddo’s artwork and you’re just not sure what to do with it. It’s time to pick which ones are frame-able and get them on the wall!

Things you need to choose:
- Which wall will become the gallery – hallways are a great option, as well as a living room or dining room space, even your child’s bedroom, if it’s a gallery of their artwork
- How many photos you want printed and in what size, or which kiddo artwork makes the cut for the wall
- What colour and what size frames – I love the white frames from ikea, as white goes on any wall and they are raised at the back to sit nicely on the wall – but most department stores or shopping centres will have matching frames that might be more to your taste
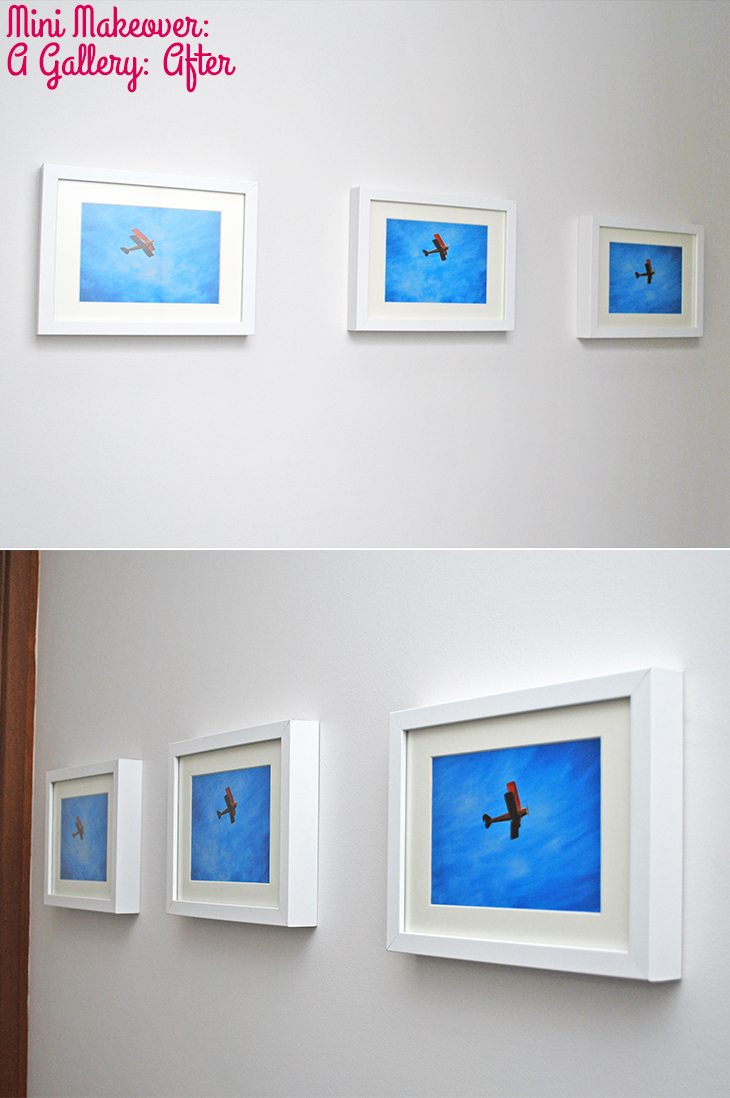
The gallery doesn’t have to be a huge, whole wall filling experience. It could be 3 – 5 frames Work running in a line along your hallway or 4 in a cheap jerseys box formation. If you’re looking at different size frames, think about putting the largest in the middle and working out from there. I’ve chosen a small hallway that will fit 3 in a line, with a slight raise in the middle.
Next you’ll need to get your photos printed and go and pick your frames, if you already have Tallagespes both yay! you’re already half way there! I chose 3 photos my Dad took of a yellow Tiger Moth and used the Ikea ribba frames that fit 5″x7″ photos. The 5″x7″ photo prints were 25c each from Officeworks, and the frames were $5.99ea.
Once you have your frames and your photos (or artwork) have been added to them them just the way you want, lay them out on the floor or on a table to decide your layout. Take your time to step back and see which order you think they look best in and if you’re worried about forgetting as soon as you move them, take a quick phone camera shot to help jog your memory!
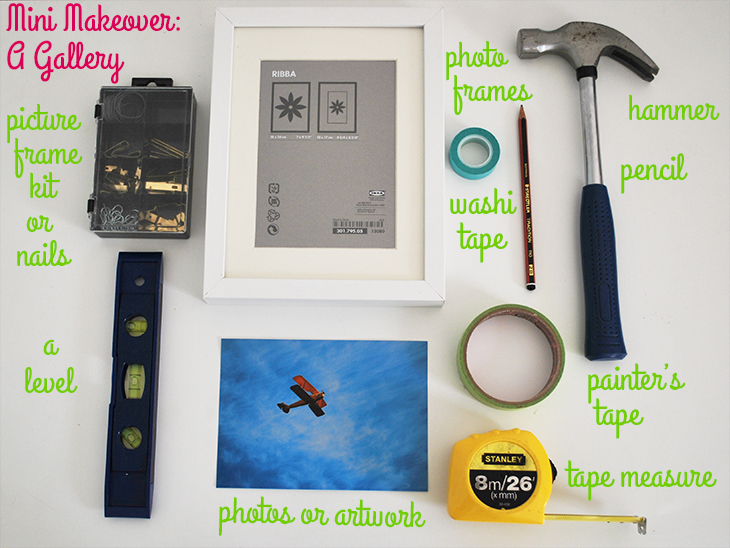
I recommend using a level and trying to line them all up if you are going for a straight line look, as it will drive you crazy to look at if all or even just one is slightly off centre. If you don’t want to use pencil on your walls, consider something like washi tape or painter’s tape to help you get that straight line whilst you are adding the nails or hooks. Check your painters tape line Youtube is Home also level or you may end up with accidental stepped photos, cool if deliberate, annoying le if not.
Also think about the gaps between the frames. They will look better if the gap is always consistent. If you’re thinking about doing a lot of frames, you could use paper the same size and blu-tack to the wall in the spot you want to have them so you can step back and see (as well as Melody easily measure) where the frames will sit. It may seem like it’s too much work, but if you’re going to be frustrated that it’s not lined up every time you look at it (who me?!) it’s worth taking that extra time.
Another thing to consider is whether little hands will be reaching for them. Smashed glass is just no fun for anyone, so if you’ve either got littlies around or they come to visit often, think about putting your gallery out of reach. Having a gallery at around eye height of an adult is a good way for it to catch your visitor’s attention too!
Note: If you have a rusher (someone who gets annoyed when things are not done instantly and prefers quick to done well) around you on the weekends, maybe but it off until they are not there and surprise them with how awesome it looks when you did it at your own (perfect) speed. ;)
Once you’re happy with where they should go, add your hooks or nails and hang your gallery. Take a moment to step back and admire your work! Yay!! For pretty artwork and photos on display! You deserve a biscuit and a cup of tea!

Remember that while I said all those tips about spacing and getting your lines right, it’s your home and you can do it any way that you want to. It doesn’t need to take weeks of thinking or planning, probably more like an afternoon. Those photos or artwork don’t have to be in there forever, you can change them up when you don’t want to look at them any more or if another photo/artwork comes along that you really want in that space.
It’s all about making the space feel happier and more liveable for you, not anyone else and if you decide you love the idea you have lots of walls in more than one room, you could do one in each.
If you do make a gallery I’d love to see it!! Tweet me your pics at: @danniellecresp or instagram me cheap NBA jerseys at: @dannielle with the hashtag: #styleaminimakeover
I made a gallery over the weekend. I had an eclectic range of things I wanted to put on the wall in my boys’ room. They are completely random images, and completely randomly spaced. And I love it! I’ll pop a photo on Instagram tomorrow and show you. You can give me advice for what else I need to add!
That sounds awesome, Kate! Can’t wait to see it!! I’m sure it looks fantastic!
I really need to do this! So many travel photos hidden away on the hard drive.
A travel one would be awesome! I think that’s next on my list! I’d love to see yours if you get the chance to do it!
I LOVE those photos! They are really gorgeous! Your dad is super clever.
Thanks K! Yes, very clever! I’m hoping to get more of his photos off the computer and into frames. :) x